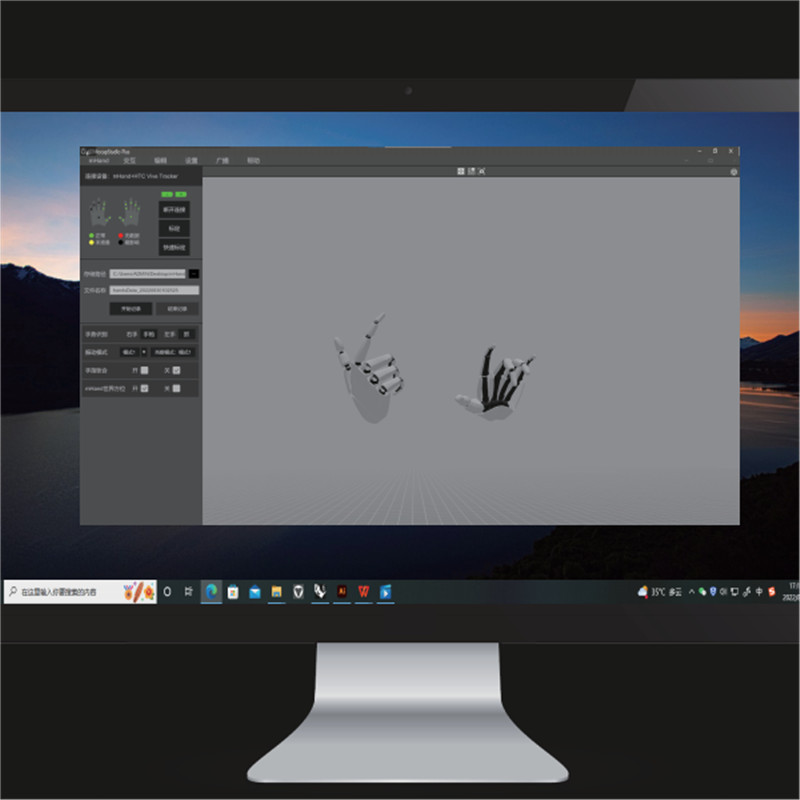
Best Virdyn mHand Studio Motion Capture Gloves Software System for mHand Pro Planning, Solution
Product Description
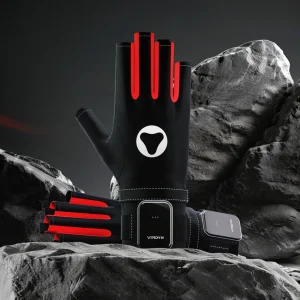
Built-in fully self-developed gesture recognition model, supports 15+ gesture types, covering common interactive gestures such as grabbing, clicking, OK, fisting, etc., and easily supports various VR interactive content.
Supporting SDK, support HTC Vive Tracker, Oculus Quest 2 controller and other optical trackers for hand position tracking.
Multiple built-in virtual interaction cases, combined with gesture recognition and vibration feedback, provide developers with more efficient and realistic virtual interaction solutions.
Supporting C++ SDK, C# SDK, Unity3D, UE4, UE5, UDP broadcasting, compatible with Windows and Android systems.
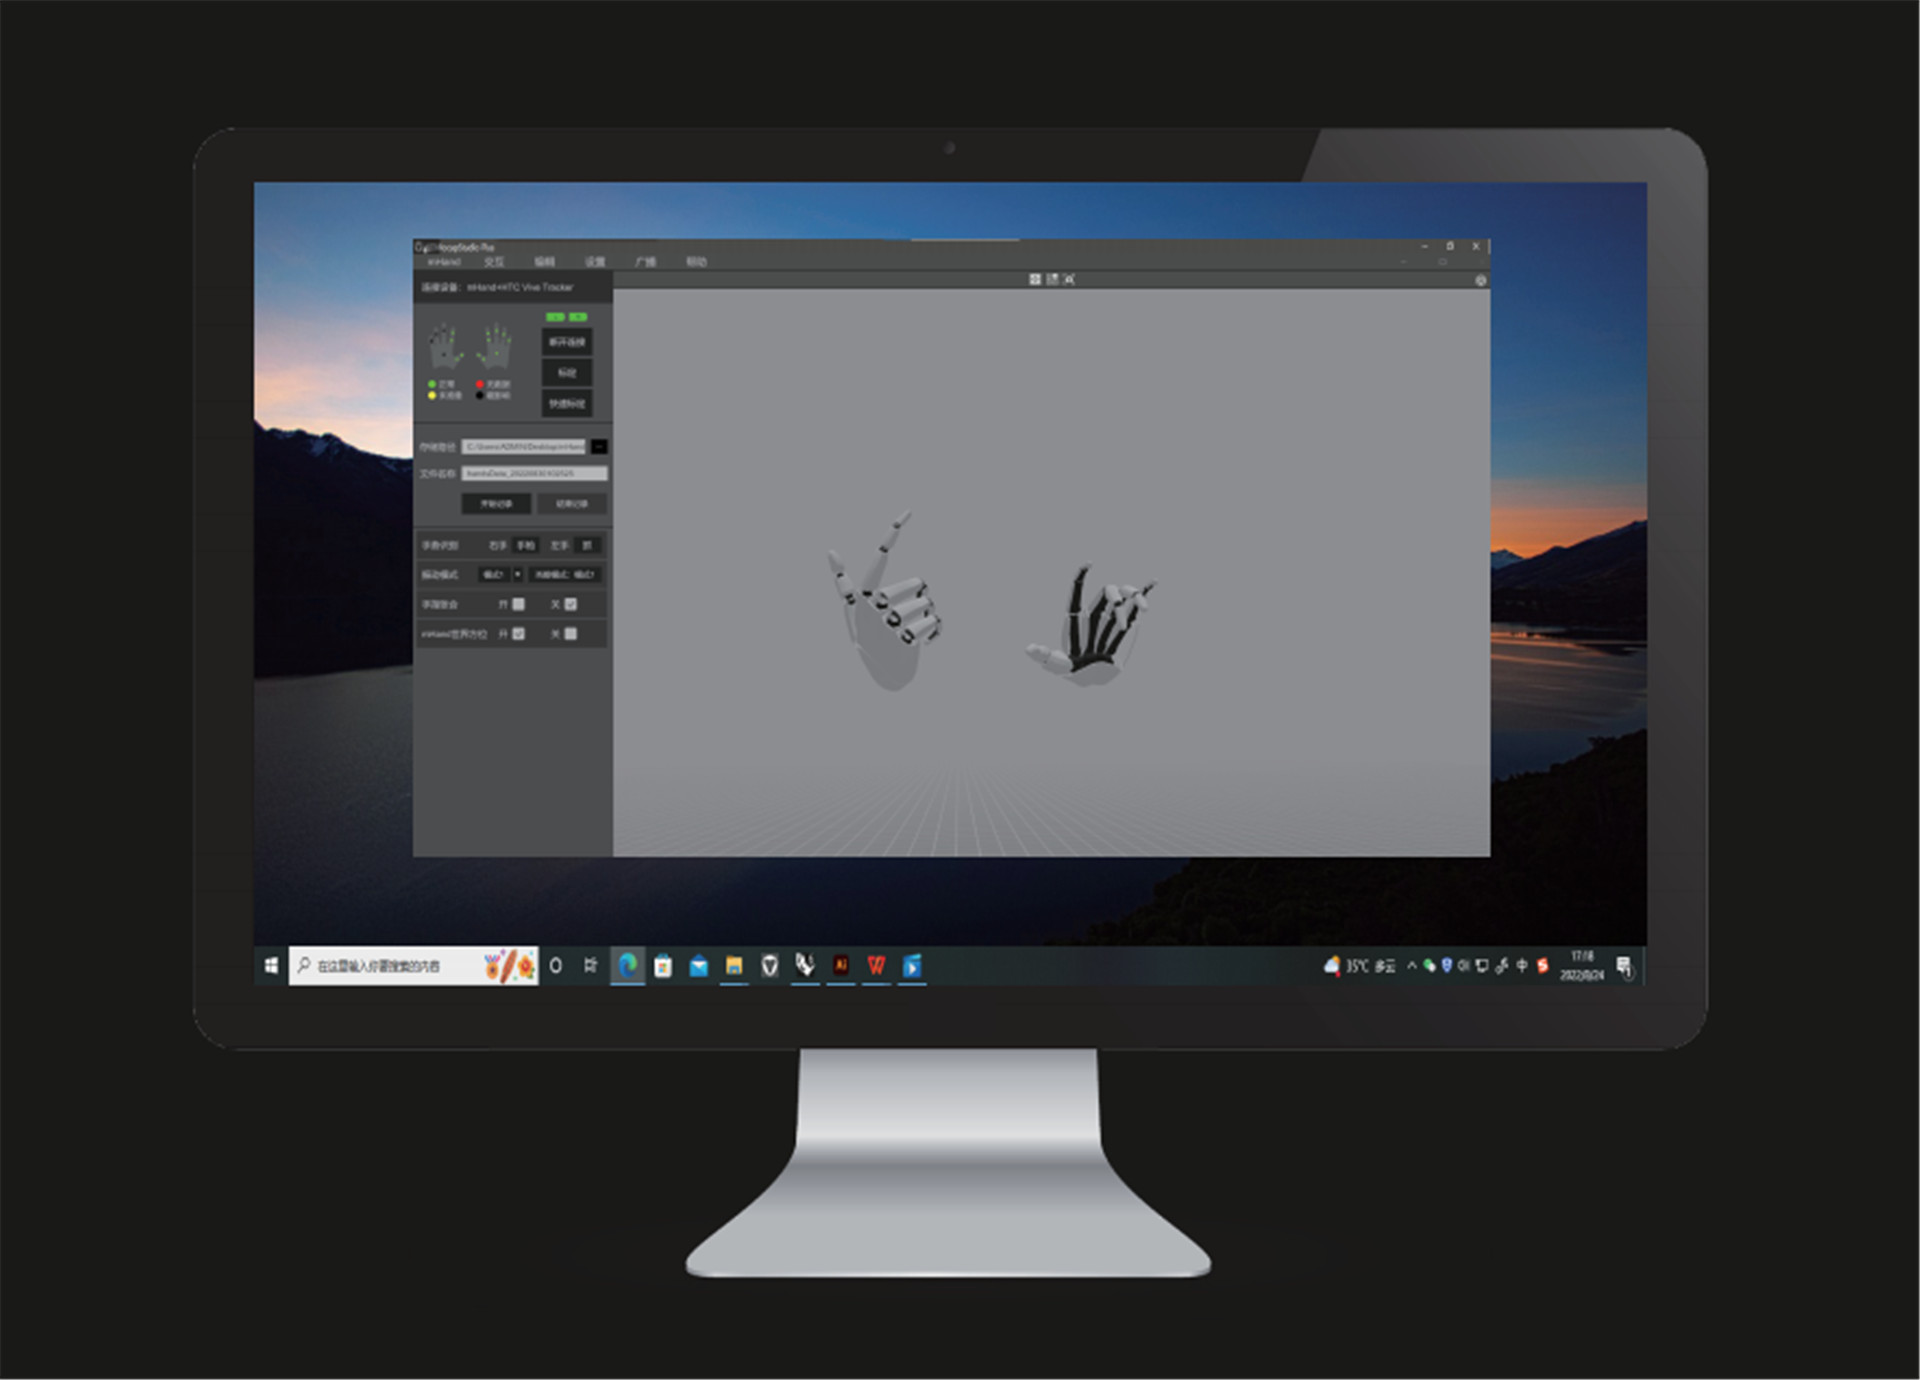
Click the icon and the camera will reset to its relative location to the model. (Relative location: The default relative distance between the camera and the model)
Click the icon to switch to one angle window and the icon for four angles windows.
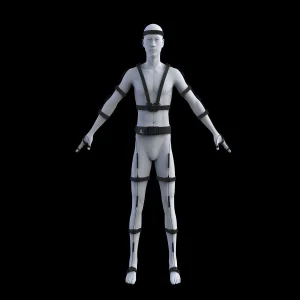
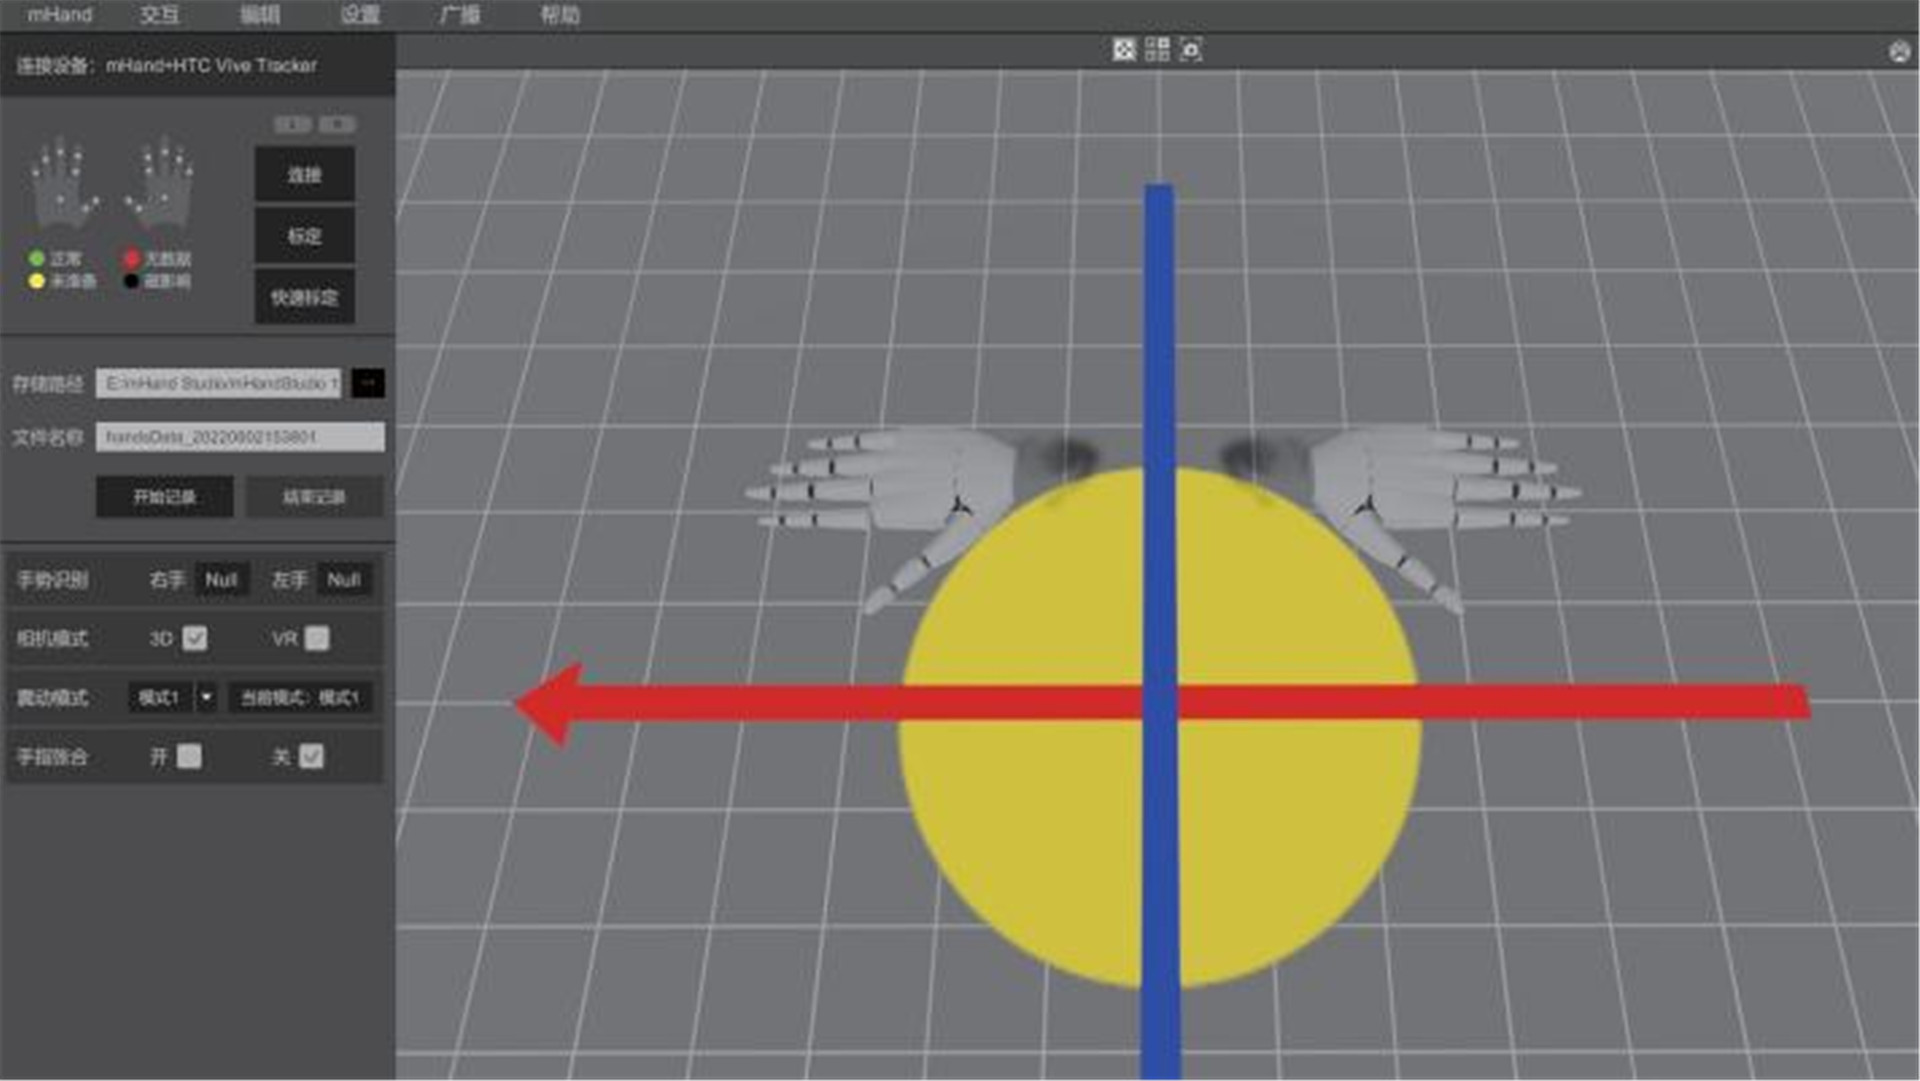
You must calibrate the unit before use. Tick both poses. During calibration, please follow the prompts and requirements.
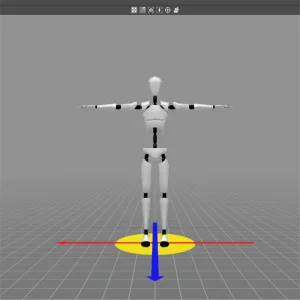
Before quick calibration is enabled, there are no calibration prompts. The model needs to stand in the calibration pose and the controller should click the “Quick Calibration” button.
After calibration, the computer will automatically recognize the motions captured by the device.
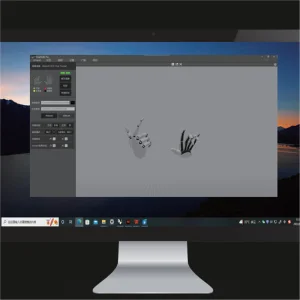
Set the storage path and file name and click the “Start Recording” button to begin recording motion data. After the capture and recording of motion data, click “Stop Recording” button to save the data file.
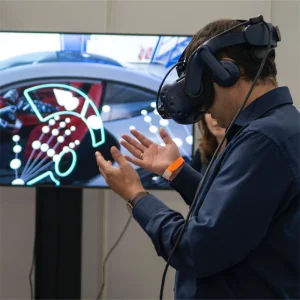
Click the “3D” button to switch to a 3D window and click the “VR” button for a VR window. (VR glasses are required)
Click the “Mode” button to change to different vibration modes. (“Mode 1” is no vibration)
During motion capture, you can choose to enable fingers clenched or unclenched. (horizontal)
Click the “Settings” button and then click the “Hardware Setting” button to adjust hardware parameters and performance recovery.
Click the “Setting” button and then click the “System Setting” button to adjust software parameters.
Click the “Broadcasting” button and set IP and port to transmit data over the data protocol.
How many gesture types does the system recognize?
The self-developed recognition model supports over 15 distinct gesture types, including common interactive gestures such as grabbing, clicking, OK, fisting, and various other interaction controls.
Which third-party hardware trackers can be used for spatial positioning?
Through the supporting SDK, the system works directly with HTC Vive Trackers, Oculus Quest 2 controllers, and other optical tracking units to handle hand spatial positioning.
What engines and operating systems are compatible?
The platform supports C++ SDK, C# SDK, Unity3D, Unreal Engine 4 (UE4), Unreal Engine 5 (UE5), and UDP broadcasting, running smoothly on both Windows and Android operating systems.
How do I complete device calibration prior to motion capture?
Before use, tick both poses and complete the standard calibration following system prompts. Alternatively, place the model in the calibration pose and click "Quick Calibration" for prompt-free fast setup.
How can vibration modes and feedback settings be modified?
You can toggle vibration modes using the "Mode" button within the controls. Setting it to "Mode 1" disables all vibration feedback.
How is real-time capture data broadcasted to other applications?
Click the “Broadcasting” button in the control panel, configure the destination IP and port, and the data will be transmitted in real time across the selected network data protocol.